This faq we will discuss managing Pages in your group.
The first step in group pages is to create a new page. To do this follow the following steps:
1) From your group's main page click on the Manage this Group button on the right side
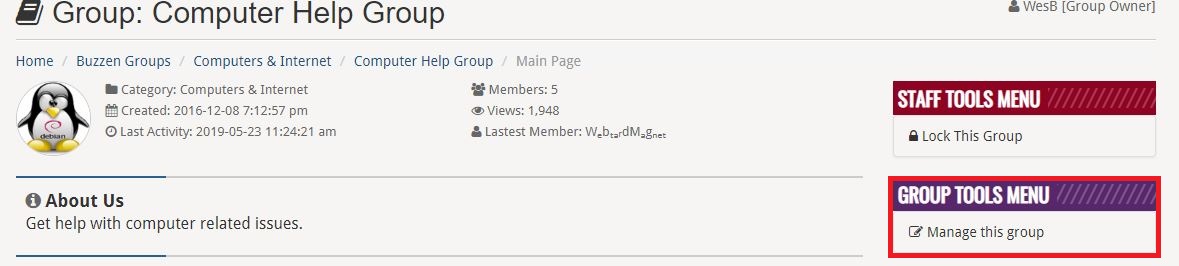
This will bring up the main group management page. Click on the Pages tab in the management console as shown:
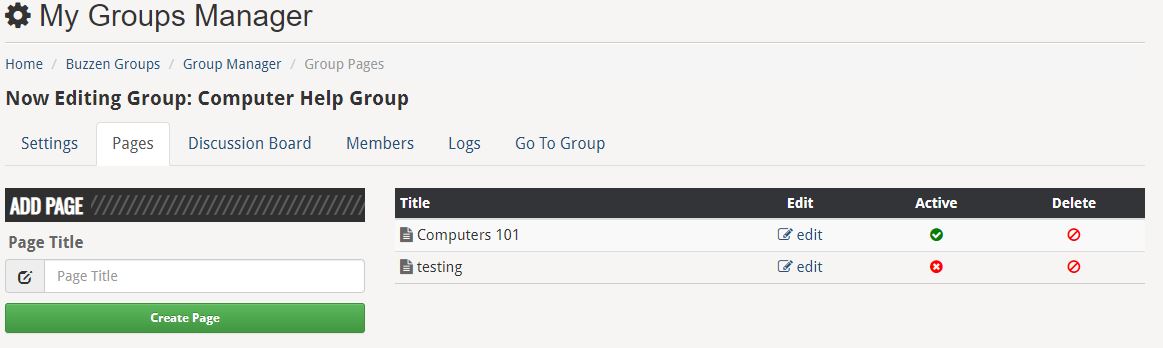
As Shown above this the Groups pages management. On the left-hand side you see Add page. This is where you enter the name of the page as you want it listed. (shown in the image if you want a page named testing) enter that in the input box and click Create Page. This will add the page and it will now be listed on the right.
All created pages for your group will be listed on the right-hand side. Title is the page name.
The right-hand side also has a few other options listed:
Edit: When you click the edit option for the page it will bring up the page content editor. This is where you can add content to the page to be displayed to the group.
Active: Clicking this option will activate or deactivate the page. If the page is deactivated No one in the group will see the page listed on the main group.
Delete: Will delete the page from the group. NOTE: Once the page is deleted it will not be recoverable
Group Page content editor:
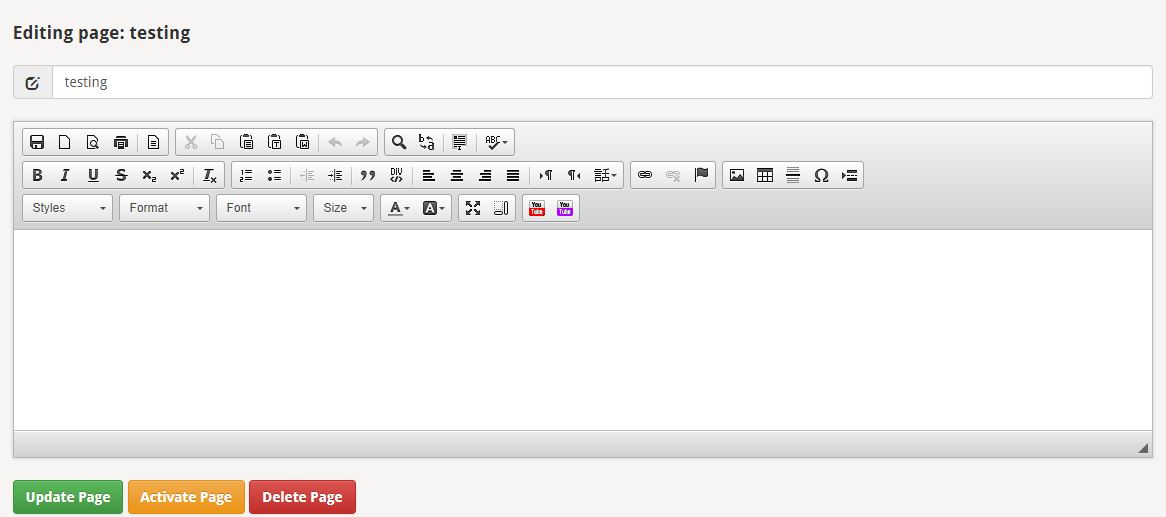
The preceding image shows the pages editor. We will explain what each icon and option in the editor does.
The first option is the page name. You can change it here if you wish

The next part is all the options for making your page unique and format it the way you wish.

We will go through each set of options and give a brief description of what they do.